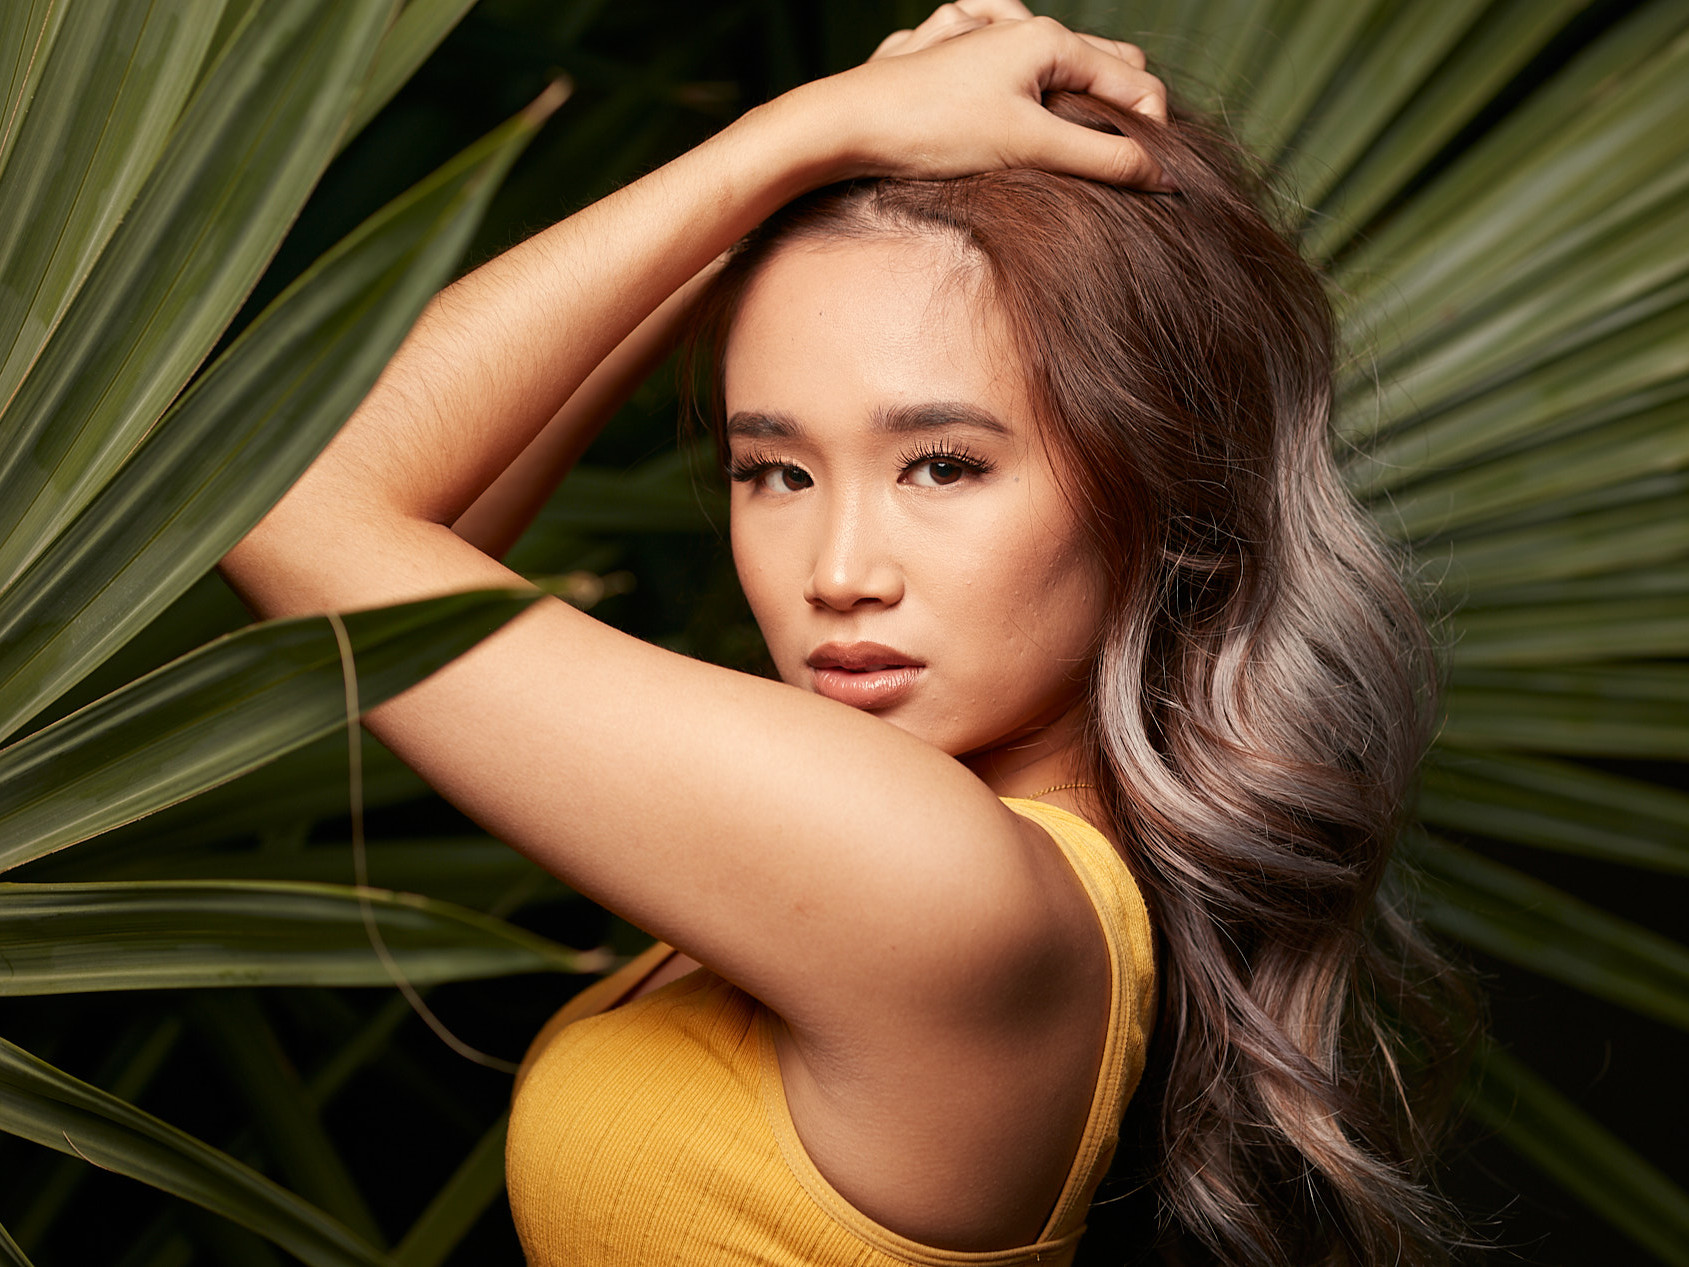
Soft, Frontal Lighting Enhances One’s Natural Beauty in Studio Portraits

Natural Lighting Techniques:
- Utilize window light as your primary light source for a soft and flattering illumination. Position your subject near a large window where diffused natural light enters the space.
- Control the intensity and quality of natural light by using curtains, blinds, or sheer fabrics to diffuse or block harsh sunlight.
- Experiment with different times of the day to capture the desired mood and ambiance, such as the warm, golden hour light during sunrise or sunset.
Studio Lighting Techniques:
- Incorporate studio strobes or continuous lights to augment or replace natural light, providing consistent and controllable illumination.
- Position strobes strategically to act as key lights, fill lights, or backlighting sources, depending on the desired effect for your portrait.
- Adjust the power output, angle, and placement of strobes to sculpt the light and create dimensionality in your portraits.
Key Light, Fill Light, and Backlighting:
- Use the key light as the primary source of illumination, positioned to illuminate the main features of your subject’s face evenly.
- Balance the key light with fill light to soften shadows and provide additional illumination, ensuring a more flattering and natural-looking portrait.
- Incorporate backlighting to separate your subject from the background, creating depth and dimensionality in the image.
Light Modifiers:
- Experiment with a variety of light modifiers, such as softboxes, umbrellas, reflectors, and grids, to control the quality and direction of light.
- Softboxes and umbrellas diffuse light, creating soft and even illumination ideal for portrait photography.
- Reflectors bounce light back onto your subject, filling in shadows and enhancing highlights.
- Grids and snoots focus and control the spread of light, allowing for more precise and dramatic lighting effects.
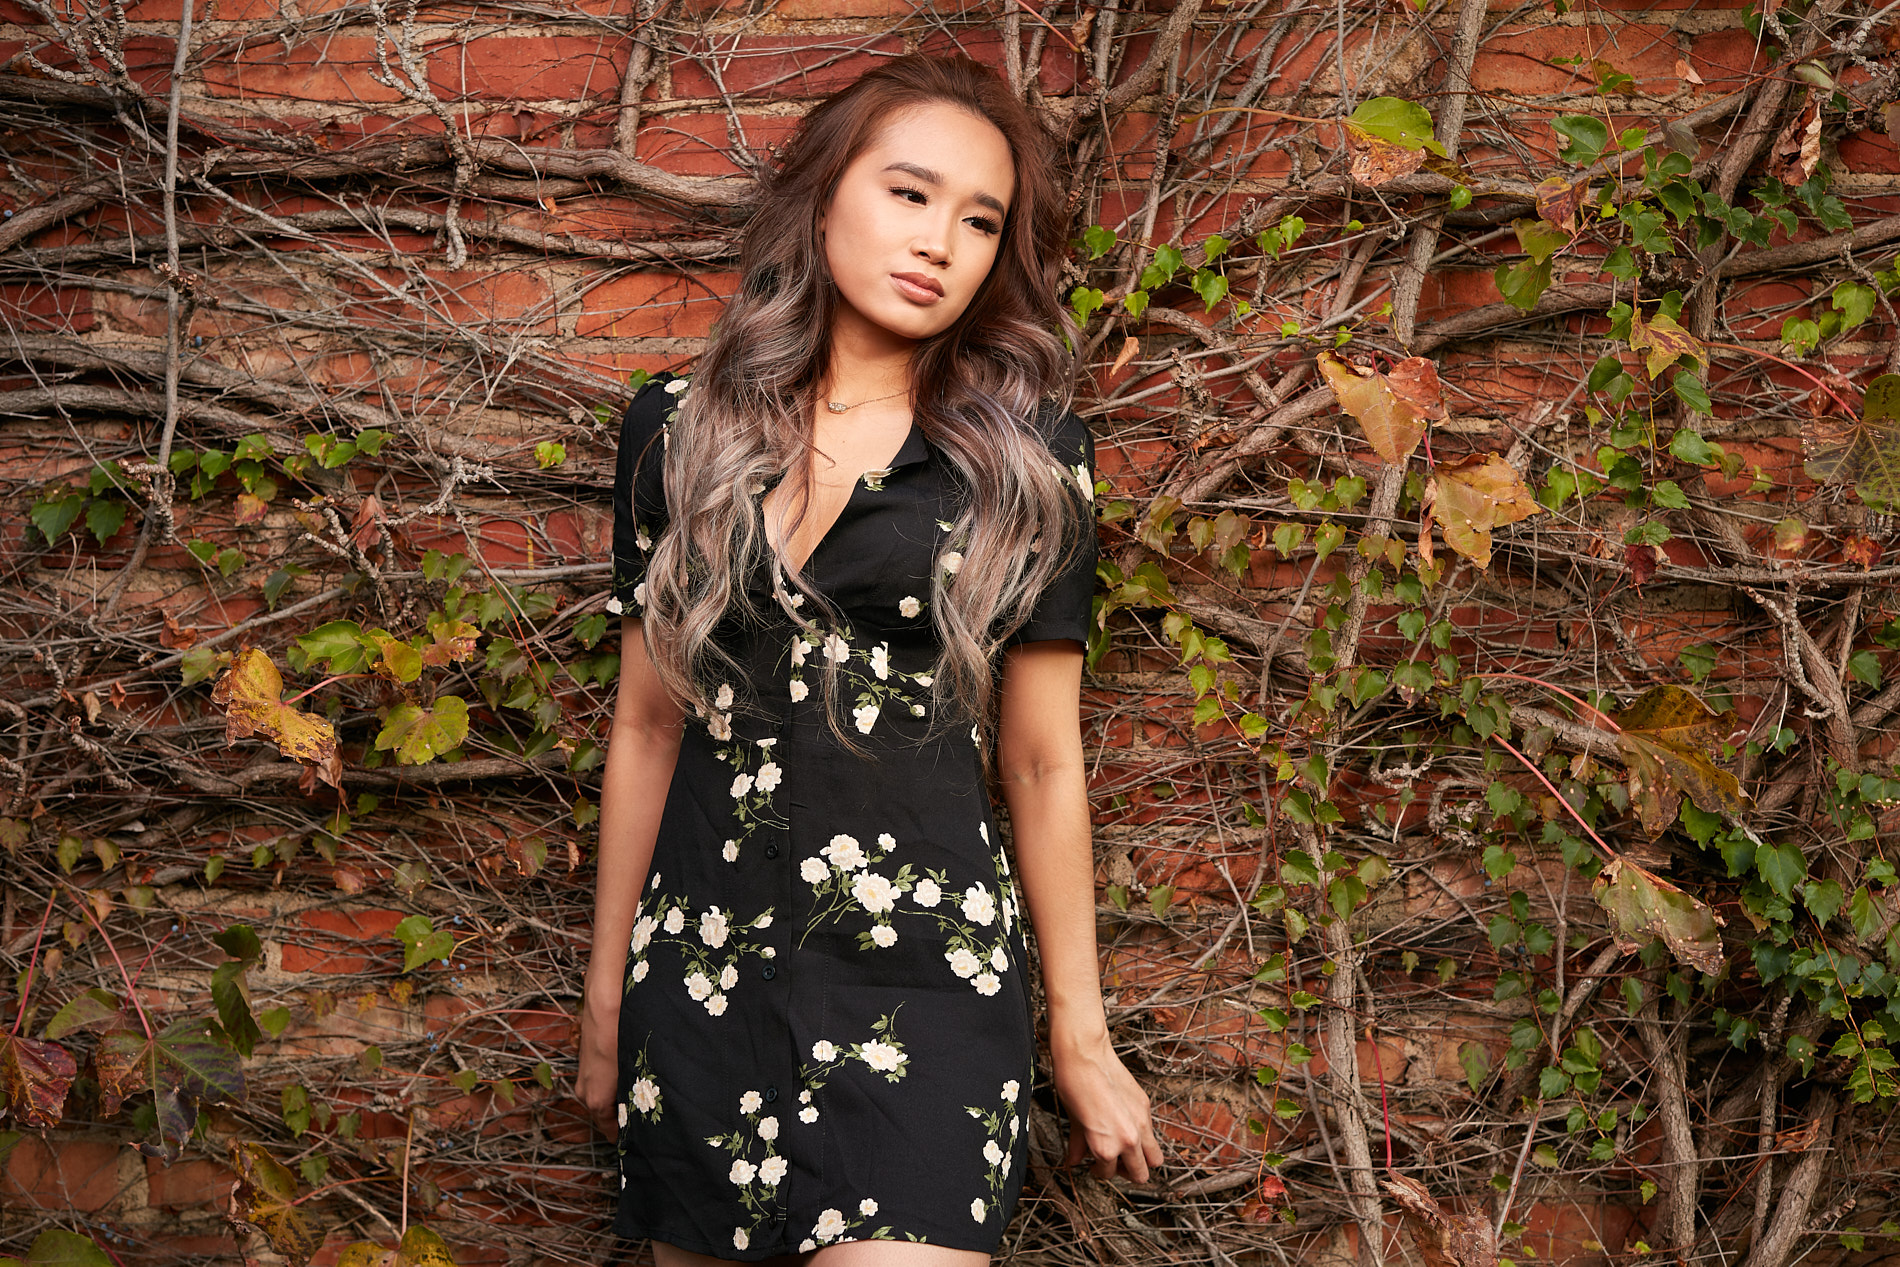
Balancing Strobe Lighting with Natural Light Give Portraits a More Polished Look
Balancing Natural and Artificial Light:
- Combine natural and artificial light sources to achieve the desired lighting setup, blending the qualities of both for a balanced and flattering portrait.
- Use artificial lights to supplement natural light, filling in shadows or providing additional illumination as needed while maintaining the overall mood and aesthetic.
- Pay attention to the catchlights in your subject’s eyes, ensuring they are bright and evenly distributed to add life and sparkle to the portrait.
- Use reflectors to bounce natural or artificial light back onto your subject’s face, filling in shadows and creating a flattering, luminous effect.
- Experiment with different lighting angles and positions to find the most flattering light for your subject’s unique features, adjusting as needed to highlight their best attributes.
Other Helpful Portrait Tips:
- Consider Lighting Ratios: Lighting ratios determine the contrast in your image. A low ratio (1:1) creates even lighting with little contrast, while a high ratio (4:1 or higher) creates dramatic lighting with strong highlights and shadows.
- Pay Attention to Direction: The direction of light affects the mood and dimensionality of your portrait. Side lighting creates depth and texture, while front lighting reduces shadows and creates a flat look.
- Control Shadows: Shadows can add depth and drama to your portraits, but they can also be distracting if not controlled. Use reflectors or fill lights to fill in shadows or create catchlights in the eyes.
- Experiment with Angles: Try shooting from different angles to find the most flattering light for your subject. Experiment with overhead lighting, butterfly lighting, or Rembrandt lighting to create different effects.
- Consider the Background: The background plays a crucial role in portrait photography. Use lighting to separate your subject from the background and create depth. Consider using a backdrop or shooting in a location with interesting textures or colors.
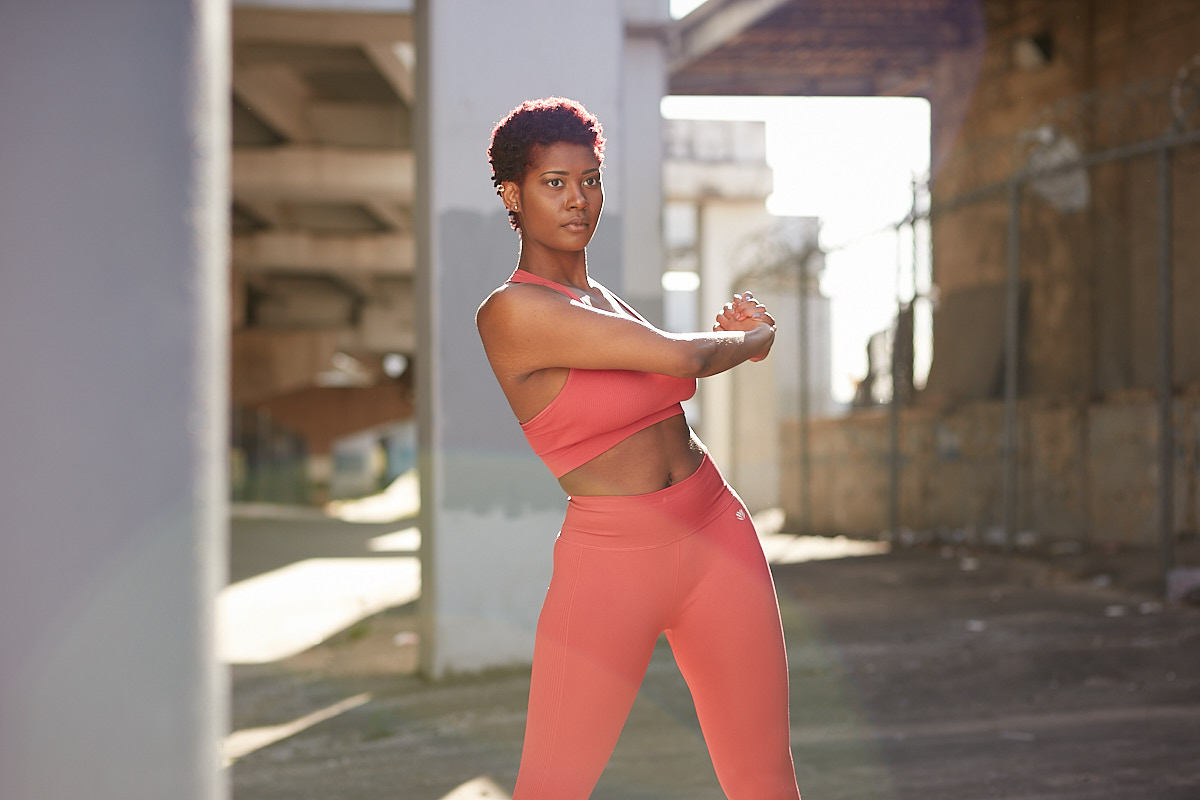
The Interplay of Rim Lighting, Highlights and Shadows of Day Light Adds Drama to On-Location Portraits
Experimentation Leads to Mastery
Remember, there’s no one-size-fits-all approach to portrait lighting. Like any skill, mastering portrait lighting takes practice. Don’t be afraid to experiment with different techniques and lighting setups to find your unique style. By mastering these techniques and experimenting with different lighting setups, you can achieve professional-quality portrait results that are both flattering and visually compelling. Remember to consider the specific characteristics of your subject and adjust your lighting accordingly to highlight their unique features and personality.